
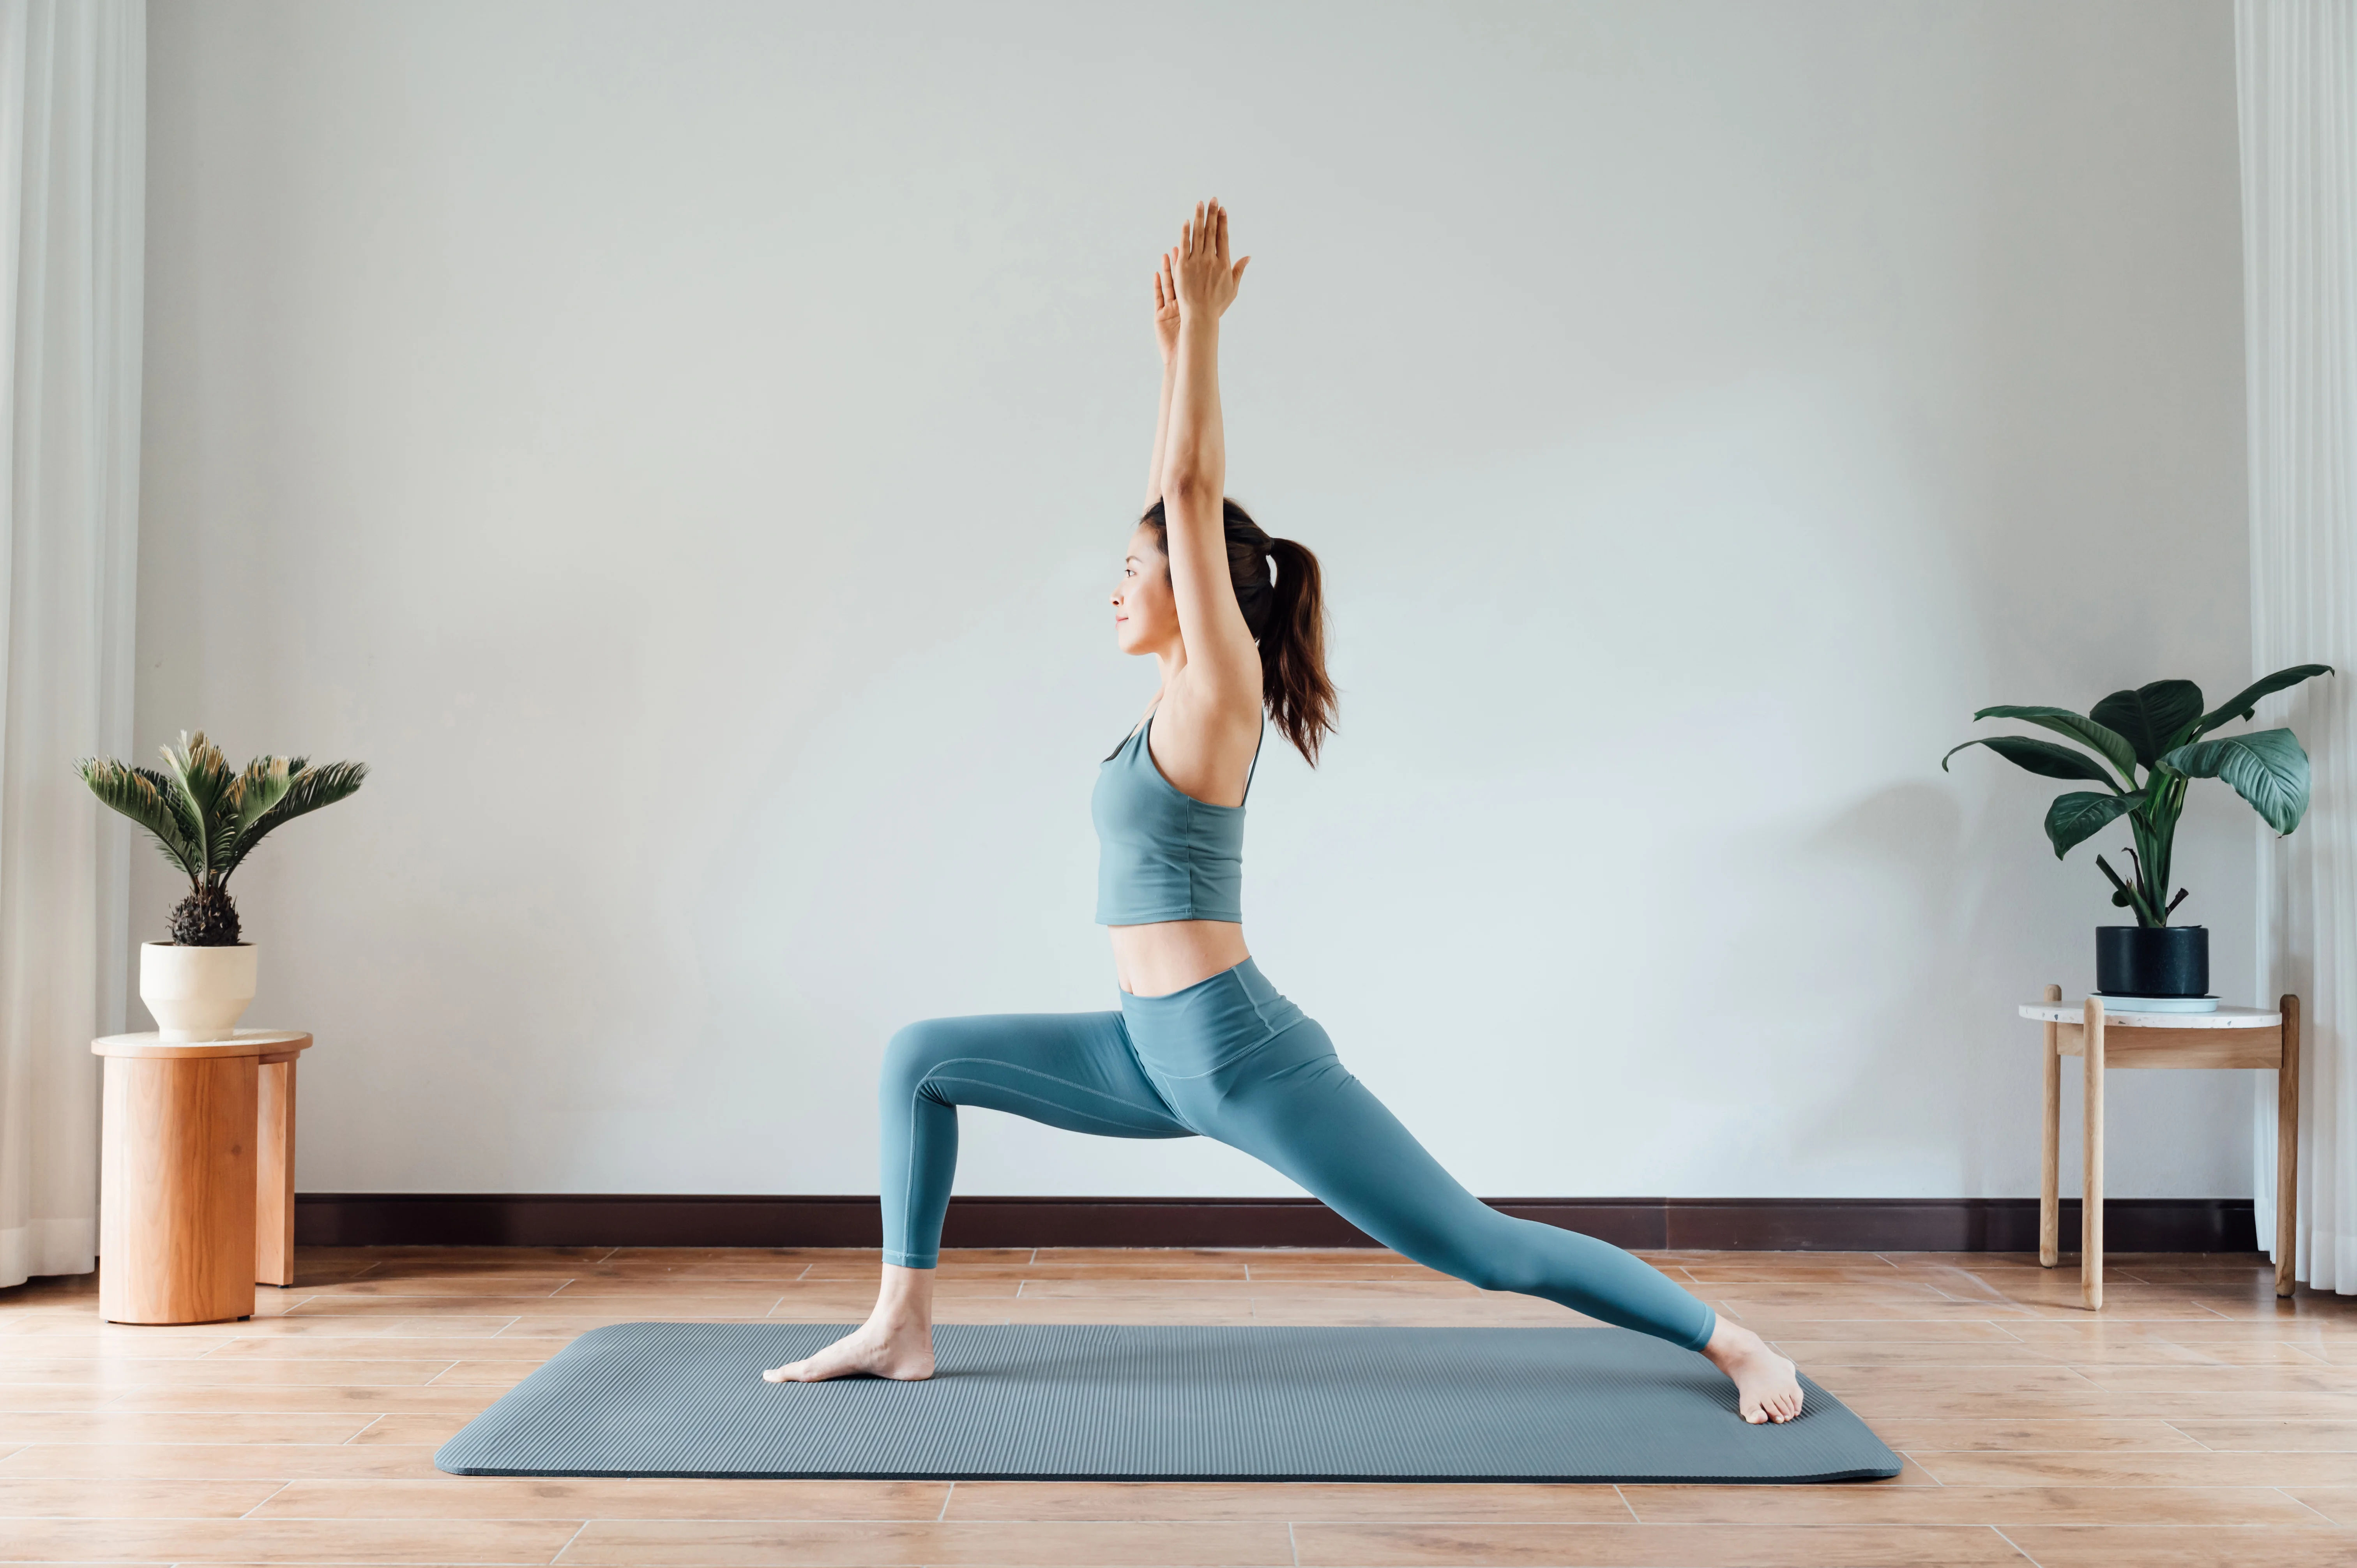
Halasana (Plow Pose) Benefits, Steps, and Precautions
Learn halasana benefits and safe steps for plow pose. Discover yoga for back relief, precautions, and beginner modifications from trusted sources.

Written by Dr. Mohammed Kamran
Reviewed by Dr. Shaik Abdul Kalam MD (Physician)
Last updated on 13th Jan, 2026
%20Benefits,%20Steps,%20and%20Precautions.webp?tr=q-80,f-webp,w-350,dpr-2,c-at_max 700w)
Introduction
If you sit for long hours or feel stiffness in your back and hamstrings, gentle, well-guided yoga can help you feel more open and relaxed. Halasana, also known as plow pose, is a classic yoga inversion and forward fold that lengthens the back of your body and encourages calm breathing. In this guide, you’ll learn safe, step-by-step instructions, realistic halasana benefits, and important precautions. We’ll also discuss when plow pose is appropriate as yoga for back care and offer beginner-friendly modifications so you can practice with confidence.
What is Halasana (Plow Pose)?
Halasana is an inverted yoga posture where your hips lift over your shoulders and your legs extend overhead, ideally with toes touching the floor behind you. It combines a forward fold with gentle spinal flexion and an inversion. Because it places weight through the shoulders and upper back while the neck is at an angle, this pose demands care, patience, and proper setup.
A quick note on evidence: Research supports yoga as a helpful practice for flexibility, stress management, and certain types of chronic low back pain when done safely and consistently. Specific studies on plow pose alone are limited, so the potential benefits described here are based on common effects of flexibility training, mindful breathing, and general yoga practice reported by reputable health sources.
How to Do Plow Pose? (Step-by-Step)
Before you start
• Practice on a firm, nonslip surface (a yoga mat).
• Warm up with gentle movements such as knee-to-chest, Cat-Cow, supine hamstring stretches with a strap, and Bridge pose.
• Have props ready: a folded blanket under the shoulders to protect the neck and possibly a chair, bolster, or blocks for support.
Step-by-step instructions
1) Set up your base
• Lie on your back. Place a neatly folded blanket under your shoulders so your head is on the mat and the shoulders are slightly elevated. This reduces pressure on the neck.
• Place arms alongside your body, palms down.
2) Lift the legs
• Exhale and draw your knees toward your chest.
• Press your palms down and use your core to lift your hips away from the floor, bringing thighs toward your torso.
3) Support your back
• Place your hands on your mid-to-lower back for support, elbows on the floor, upper arms steady.
• Keep the back of your neck long; avoid turning your head.
4) Move into halasana
• With control, extend your legs slowly overhead. If toes comfortably reach the floor behind you, lightly rest them there.
• If they don’t reach, keep knees slightly bent or place your feet on a chair, bolster, or blocks behind your head.
5) Align and soften
• Keep shoulders, upper arms, and back of the head on the mat; press upper arms down to lift the chest slightly away from the chin (avoid compressing the throat).
• Keep the neck neutral and relaxed; gaze up toward your torso without turning the head.
• Breathe smoothly through the nose.
Consult Top Specialists
How long to hold and how to breathe?
• Start with 15–30 seconds while breathing comfortably.
• Over time, and only if it feels good and stable, you can hold it for up to 1–2 minutes.
• Use slow, steady breaths. If you feel neck strain, facial pressure, tingling, or any pain, exit immediately.
How to exit safely?
• Bend your knees toward your forehead.
• Slowly roll down one vertebra at a time, keeping your core engaged and hands supporting your back until your hips touch down.
• Rest on your back for several breaths before moving.
Beginner Modifications and Props
• Feet-on-chair plow: Place a sturdy chair behind your head. Come into the pose and rest your feet or calves on the chair seat instead of the floor. This reduces strain on the neck and hamstrings.
• Wall support: Practice near a wall so your feet can land on it behind you. Walk your feet down the wall only as far as is comfortable.
• Bent knees and wider stance: Slightly bend your knees and separate the feet hip-width or wider to ease tight hamstrings.
• Extra shoulder padding: Use one or two folded blankets under the shoulders to minimize neck compression. Ensure the head is on the mat, not on the blankets.
• Short holds: Take brief holds with full rest in between, focusing on smooth, tension-free breathing.
Top Halasana Benefits (What You Can Realistically Expect)
Because high-quality studies on plow pose specifically are limited, consider the following as potential, practical benefits drawn from broader yoga research and sound biomechanical reasoning:
• Back-of-body stretch: Halasana lengthens the entire posterior chain, including the spinal muscles, glutes, and hamstrings, which can improve flexibility and ease feelings of tightness.
• Postural awareness: Inversions and forward folds encourage body awareness and alignment. Over time, this can translate to improved posture habits in daily life.
• Core engagement and control: Entering and exiting the pose slowly builds abdominal and deep trunk strength that supports the spine.
• Calming effect: Slow nasal breathing and the contained nature of the pose can help reduce stress and promote relaxation, which is consistent with research showing yoga’s benefits for stress management.
• As part of a program for back care: When used thoughtfully within a well-rounded routine, yoga has been shown to help with chronic nonspecific low back pain for many people. If halasana is comfortable and safe for you, it may complement other gentle poses and stretches aimed at back care.
Is Plow Pose Good Yoga for Back Care?
For some people, a plow pose can feel relieving by stretching tight back muscles and hamstrings. For others—especially those with neck issues, herniated discs, osteoporosis, or acute back pain—the pose may not be appropriate. Reputable medical sources note that structured yoga programs can help many people with chronic low back pain, but not every pose suits every body. If your goal is yoga for back health, prioritize safety, choose gentle variations, and consider guidance from a qualified teacher or healthcare professional. When in doubt, try safer alternatives listed below and see how your body responds over time.
Precautions, Contraindications, and When to Avoid?
• Avoid halasana or get medical clearance first if you have:
• Neck pain, past neck injury, cervical spondylosis, or nerve symptoms (numbness/tingling)
• Herniated disc, spinal stenosis, osteoporosis, or recent spinal surgery
• Glaucoma or significant eye conditions (inversions can raise eye pressure)
• Uncontrolled high blood pressure or cardiovascular disease; talk to your clinician first
• Ear or sinus infection, severe headache, or recent upper respiratory infection
• Pregnancy (especially without prior experience and guidance)
• Uncontrolled gastroesophageal reflux (inversions may worsen symptoms)
General safety tips:
• Never force your feet to the floor; use props.
• Keep your head and neck still; do not turn your head while in the pose.
• Stop if you feel pain, tingling, or pressure in the eyes or face.
• Practice after a thorough warm-up and finish with a gentle counterpose.
Common Mistakes and How to Fix Them?
• Forcing the feet to the floor: Use a chair, blocks, or keep knees bent so the spine stays long and comfortable.
• Weight on the neck: Elevate shoulders on a folded blanket, press upper arms into the mat, and keep the chest lifted away from the chin.
• Holding the breath: Keep a smooth, steady breath; reduce depth or come out if breathing feels restricted.
• Rushing the exit: Roll down slowly, one vertebra at a time, with core support.
Safer Alternatives if Plow Pose Isn’t Right for You
• Legs-Up-the-Wall (Viparita Karani): Gentle inversion without neck strain
• Supported Bridge Pose on a block: Mild backbend that opens hips and front body, often comfortable for back care
• Supine Hamstring Stretch with a strap: Targets tight hamstrings without spinal load
• Happy Baby Pose: Gentle low-back release
• Cat-Cow and Child’s Pose: Easy spinal mobility and relaxation
How to Add Halasana to Your Routine?
• Warm-up first: 5–10 minutes of gentle movement and breath.
• Try 1–3 rounds: Short, calm holds with full rests between.
• Follow with a counterpose: A gentle chest opener or supported Fish, then a neutral rest on your back.
• Frequency: 2–3 times per week is plenty for most people. Consistency matters more than duration.
• Listen to your body: If you feel uncertain or uncomfortable, choose a supported variation or an alternative pose.
Consult Top Specialists
Consult Top Specialists

Dr. Anjan Das
Ayurveda Practitioner
8 Years • Ayurvedacharya ( B.A.M.S )
Dumdum
Vedhive Ayurveda Clinic, Dumdum

Dr. Shiv Prakash Singh
Ayurveda Practitioner
19 Years • BAMS
Kolkata
Vedhive Ayurveda College Street, Kolkata
(50+ Patients)

Dr. Rik Sadhukhan
Ayurveda Practitioner
8 Years • BAMS
Kolkata
Vedhive Ayurveda, Ballygunge, Kolkata
Consult Top Specialists
Dr. Anjan Das
Ayurveda Practitioner
8 Years • Ayurvedacharya ( B.A.M.S )
Dumdum
Vedhive Ayurveda Clinic, Dumdum
Dr. Shiv Prakash Singh
Ayurveda Practitioner
19 Years • BAMS
Kolkata
Vedhive Ayurveda College Street, Kolkata
(50+ Patients)
Dr. Rik Sadhukhan
Ayurveda Practitioner
8 Years • BAMS
Kolkata
Vedhive Ayurveda, Ballygunge, Kolkata
More articles from General Medical Consultation


Frequently Asked Questions
1) Is halasana safe for beginners?
It can be, with careful setup, props, and guidance. Start with feet-on-chair or wall-supported versions and keep holds short. If you have any neck, eye, or spine issues, speak with a healthcare professional before trying it.
2) Can plow pose help lower back pain?
Yoga programs have been shown to help many people with chronic nonspecific low back pain. Plow pose may be helpful for some, but it can aggravate symptoms for others. Begin with gentler options such as Legs-Up-the-Wall, supported Bridge, and hamstring stretches, and add halasana only if it feels comfortable and safe.
3) How long should I hold the plow pose?
Start with 15–30 seconds, focusing on easy breathing and no neck strain. Over time you can work up to 1–2 minutes, but only if you can maintain comfort and good alignment.
4) What should I do after halasana?
Rest on your back for several breaths, then take a gentle counterpose such as supported Fish or a comfortable chest opener. Avoid abrupt movements right after inversions.
5) Who should avoid the plow pose?
Anyone with neck problems, glaucoma or significant eye conditions, uncontrolled high blood pressure, recent spine issues or surgery, or those who are pregnant without prior experience and professional guidance should avoid halasana or get medical clearance first.